The Seasonal Maintenance Checklist
For a PRINTER FRIENDLY version of this checklist
The one time Complete Home Inspection is the same thing as all the Seasonal Maintenance Checklists combined
Like a regular health check-up, a home maintenance schedule is important for every house’s upkeep. Continuing to check on your exterior, appliances, heating and cooling, plumbing, security, and electrical systems will help prevent breakdowns, save money, and keep your home looking its best. Use this home maintenance checklist to help schedule your seasonal updates, repairs, and cleaning, along with a handful of monthly tasks. Revisit the list monthly and at the beginning of each season to keep your home in prime working condition. If any of the jobs go beyond your skill level or lead to more involved repairs, consider hiring a professional to help.

Monthly Home Maintenance Checklist
Inspecting your home and completing monthly home improvement projects will keep your maintenance schedule on track and easier to manage. tOdd-Jobs Handymen follow this comprehensive home maintenance checklist each month to help you save time and money:
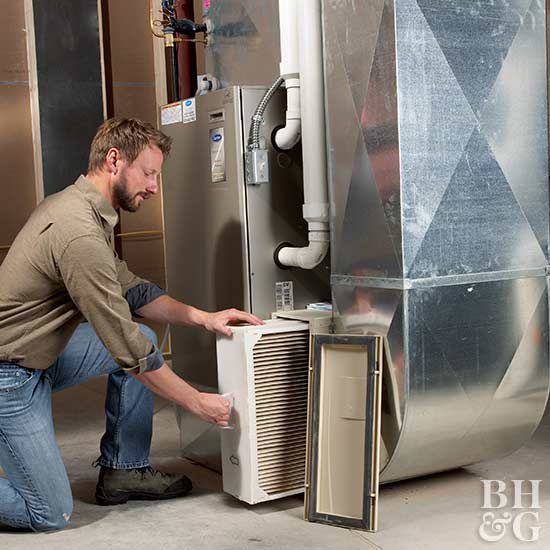
- Clean the furnace filter to remove dust build-ups, make it easier to regulate your home’s temperature, and ultimately decrease energy bills.
- Check the water softener and replenish salt if necessary.
- Clean faucet aerators and showerheads to remove mineral deposits.
- Inspect tub and sink drains for debris; unclog if necessary.
- Test smoke alarms, carbon monoxide detectors, fire extinguishers, and all ground-fault circuit interrupters.
- Inspect electrical cords for wear.
- Vacuum heat registers and heat vents.
- Check that indoor and outdoor air vents are not blocked.
- Flush out hot water from the water heater to remove accumulated sediment.
- Clean the garbage disposal by grinding ice cubes, then flushing with hot water and baking soda.

Fall Maintenance Checklist
In many regions, fall is the perfect season to tackle general home maintenance projects because the weather is generally dry and temperatures are moderate. Before you start your seasonal home maintenance checklist, examine both the interior and exterior of your home. Most of these tasks can be accomplished without the help of a professional, but it’s always better to be safe and call for assistance if a home improvement project is beyond your abilities. Here are our seasonal home improvement recommendations for fall:
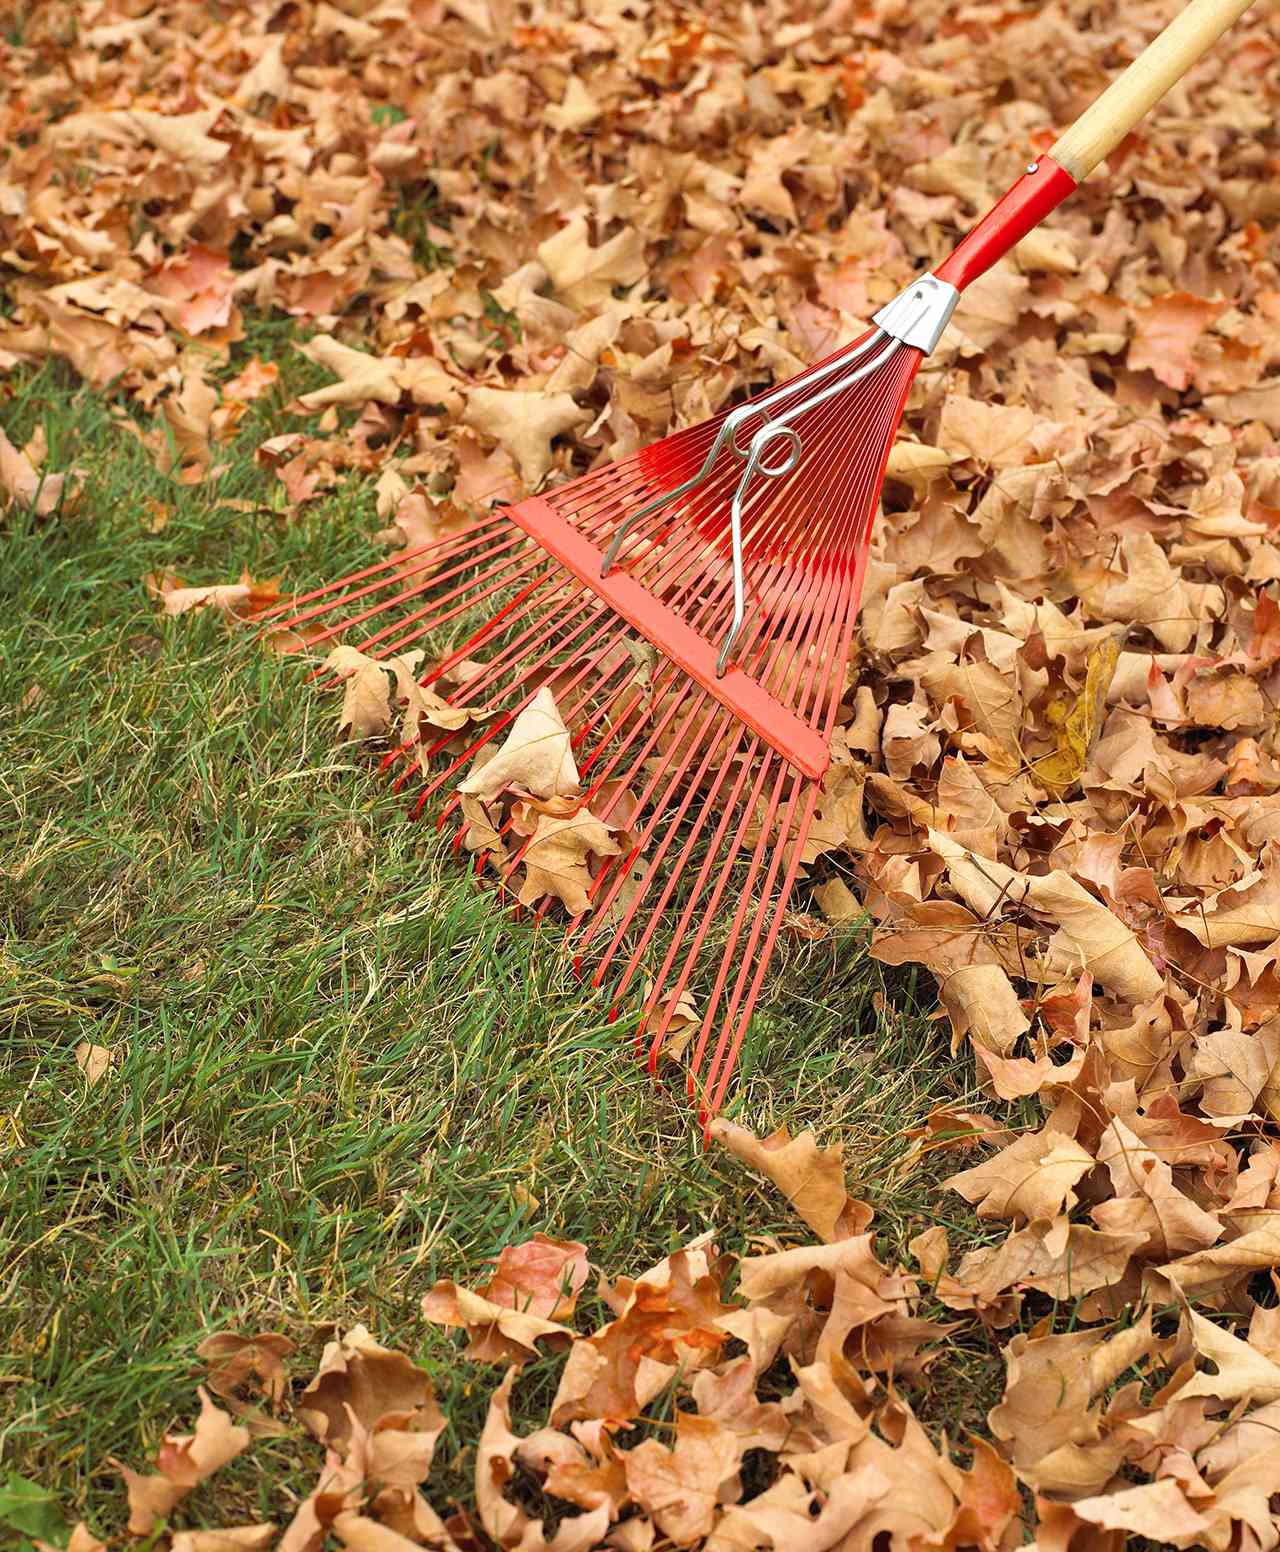
- Rake leaves and aerate the lawn.
- Inspect forced-air heating system. Schedule an inspection in late summer or early fall before the heating season begins.
- Check fireplace for damage or hazards, and clean fireplace flues.
- Seal cracks and gaps in windows and doors with caulk or weather stripping; replace if necessary.
- Swap old, drafty windows for more energy-efficient models.
- Touch up exterior siding and trim with paint.
- Inspect roofing for missing, loose, or damaged shingles and leaks.
- Power-wash windows and siding.
- Remove leaves and debris from gutters and downspouts.
- Mend cracks and gaps in the driveway and walkway.
- Drain and winterize exterior plumbing.
- Have your fireplace professionally inspected.
- Tune up major home appliances before the holidays.
- Repair or replace siding.
- Replace the batteries in smoke and carbon monoxide detectors. Install a smoke detector on every floor of your home, including the basement.
- Clean the carpets.
- Clean window and door screens.
- Vacuum lint from the dryer vent.
- Inspect exterior door hardware; fix squeaky handles and loose locks.
- Check for frayed cords and wires.
- Drain and store hoses, and drain in-ground sprinkler systems.
- Wrap insulation around outdoor faucets and pipes in unheated garages.
- Check water heater for leaks.

Seasonal Home Improvement: Winter Maintenance Checklist
Winter weather can be harsh on your home. The below-freezing temperatures can cause a number of problems, including frozen pipes and roof damage. To prevent winter harm and avoid calling a professional in the middle of a blizzard, be sure to check these winter items off your home maintenance checklist:
- Cover your air-conditioning unit.
- Check basement for leaks during thaws.
- Inspect the roof, gutters, and downspouts for damage after storms.
- Vacuum bathroom exhaust fan grill.
- Vacuum refrigerator and freezer coils and empty and clean drip trays.
- Clean drains in sinks, tubs, showers, and dishwashers.
Seasonal Home Improvement: Spring Maintenance Checklist
Once the ground has thawed and the trees begin to bud, it’s time to prepare your home for spring. On top of your regular spring cleaning, you’ll also want to consider these general upkeep tips. Use our spring home maintenance checklist to make sure everything in your home from the basement to the roof is in tip-top shape:
- Inspect roofing for missing, loose, or damaged shingles and leaks.
- Change the air-conditioner filter.
- Clean window and door screens.
- Polish wood furniture, and dust light fixtures.
- Refinish the deck.
- Power-wash windows and siding.
- Remove leaves and debris from gutters and downspouts.
- Replace the batteries in smoke and carbon monoxide detectors.
- Have a professional inspect and pump the septic tank.
- Inspect sink, shower, and bath caulking for deterioration.
- Vacuum lint from dryer vent.
- Inspect chimney for damage.
- Repair or replace caulking and weather stripping around windows, doors, and mechanicals.
- Remove insulation from outdoor faucets and check sprinkler heads.
- Have air-conditioning system serviced.
- Drain or flush water heater.
- Fertilize your lawn.

Seasonal Home Improvement: Summer Maintenance Checklist
When the sun is out and warm weather is finally here to stay, the last thing you should worry about is home maintenance. Use our quick summer home maintenance guide to get the hard work out of the way at the beginning of the season. Don’t worry if the weather is already heating up; most of these tasks are indoors:
- Oil garage-door opener and chain, garage door, and all door hinges.
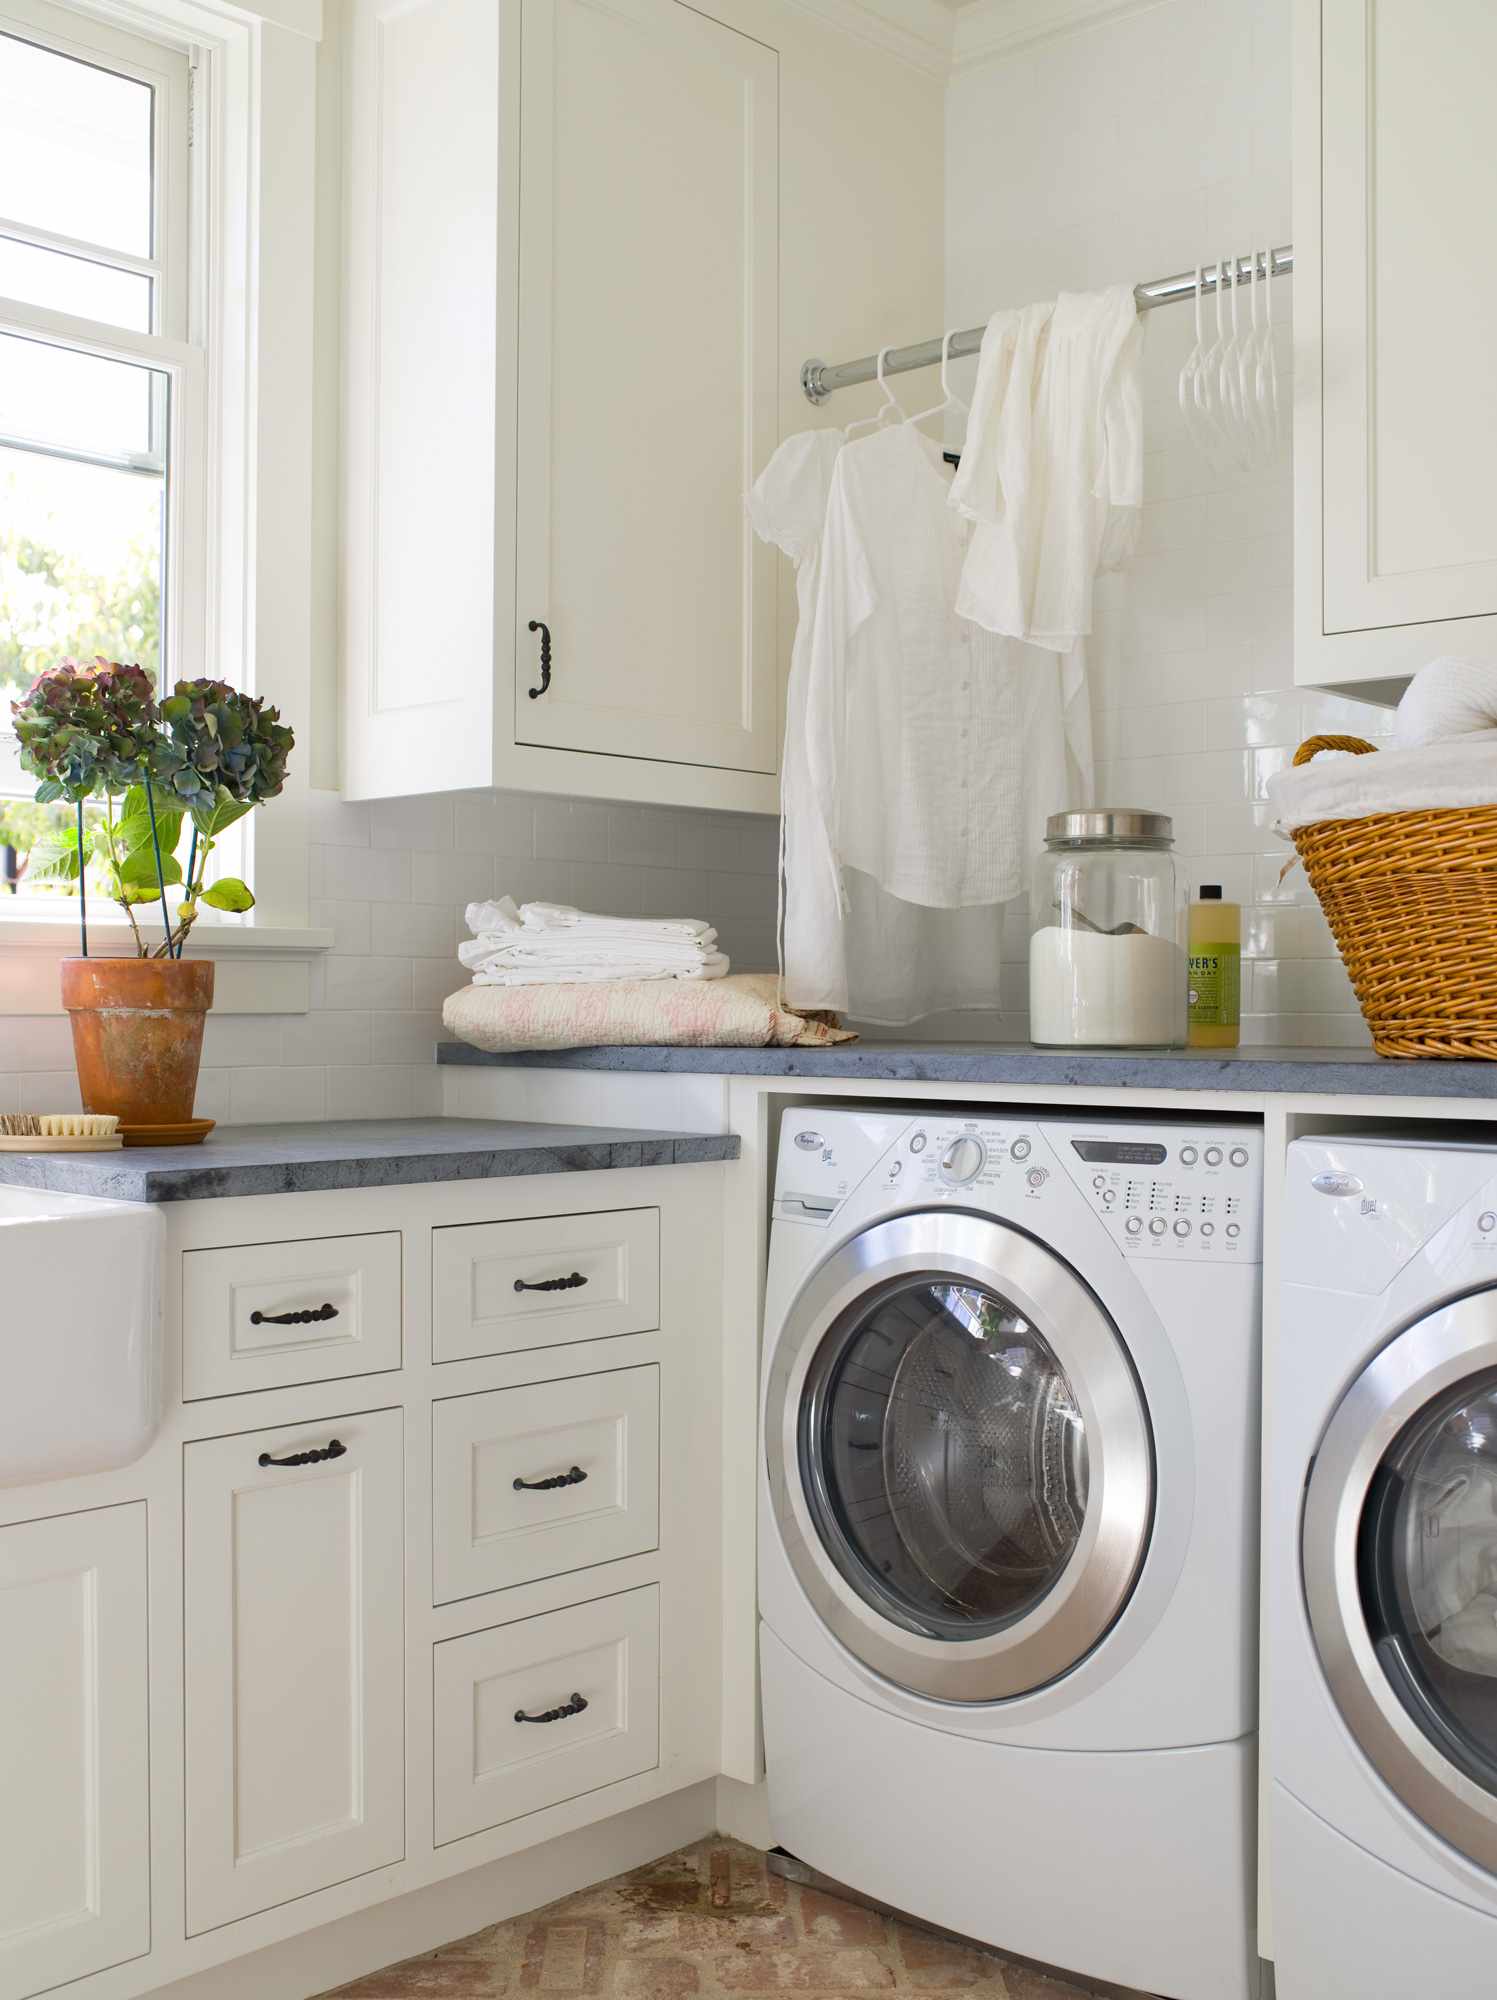
- Remove lint from inside and outside washer hoses and dryer vents.
- Clean kitchen exhaust fan filter.
- Clean refrigerator and freezer coils and empty and clean drip trays.
- Check dishwasher for leaks.
- Check around kitchen and bathroom cabinets and around toilets for leaks.
- Replace interior and exterior faucet and showerhead washers if needed.
- Seal tile grout.
- Prune trees and shrubs.
Your Home’s Fall Checklist
It’s time to prepare your home to withstand winter’s frosty bite. Follow our fall checklist for must-do repairs and other seasonal maintenance tip
Fall is the perfect time to take care of the little things that can make a big difference for you and your home. Most of the tasks listed below are well with-in the average person’s ability. But even if you choose to have a professional handle them, it’s worth the expense. You’ll save money—and maybe even your life. We’ll walk you through cleanup for gutters, roofs, fireplaces, and more.

Get Your Mind in the Gutters
Your roof’s drainage system annually diverts thousands of gallons of water from your house’s exterior and foundation walls. That’s why it is so important to keep this system flowing smoothly. Clogged gutters can lead to damaged exterior surfaces and to water in your basement. They are also more prone to rust and corrosion. Before the leaves fly this fall, have your gutters cleaned, then covered with mesh guards to keep debris from returning.
Related: How to Care for Gutters
Button Up Your Overcoat
A home with air leaks around windows and doors is like a coat left unbuttoned. Gaps in caulk and weather-stripping can account for 10 percent of your heating bills, according to the U.S. Department of Energy.
Weather-stripping is easily the most cost-effective way to rein in heating and cooling costs. This humble material also reduces drafts and keeps your home more comfortable year-round. Because weather stripping can deteriorate over time, it is important to inspect it periodically.
If you suspect a problem with weather stripping, you have several options for checking. Close a door or window on a strip of paper; if the paper slides easily, your weatherstripping isn’t doing its job. Or, close the door or window and hold a lighted candle near the frame. (Don’t let the flame get near anything flammable!) If the flame flickers at any spot along the frame, you have an air leak.
While you’re at it, also check for missing or damaged caulk around windows, doors, and entry points for electrical, cable, phone, gas, and so. Seal any gaps with a suitable caulk.
Related: More Fall Fix-Ups for Your Home

Get on Top of Roof Problems
Few homeowner problems are more vexing than a leaky roof. Once the dripping starts, finding the source of the problem can be time-consuming. Stop problems this fall before ice and winter winds turn them from annoyances into disasters.
Start by inspecting your roof from top to bottom, using binoculars if necessary. Check ridge shingles for cracks and wind damage. Look for damage to metal flashing in valleys and around vents and chimneys. Scan the entire roof for missing, curled, or damaged shingles. Look in your gutters for large accumulations of granules, a sign that your roof is losing its coating; expect problems soon. Finally, make sure your gutters are flowing freely.
tOdd-Jobs Tip: Roof-mounted television antennas, even if they aren’t in use, may have guy wires holding them in place. Look for loose or missing guy wires. If you see some, and your antenna is no longer being used, consider having it removed altogether.
Chill Out
If you live in an area with freezing weather, take steps to ensure that outside faucets (also called sill cocks) and inground irrigation systems don’t freeze and burst.
Close any shut-off valves serving outside faucets, then open the outside faucet to drain the line. (There may be a small cap on the faucet you can loosen to facilitate this draining.) If you don’t have shut-off valves, and your faucets are not “freezeproof ” types, you may benefit from styrofoam faucet covers sold at home centers.
To freezeproof an in-ground irrigation system, follow the manufacturer’s procedure for draining it and protecting it from winter damage.

Freshen Your Filter
Furnace filters trap dust that would otherwise be deposited on your furniture, woodwork, and so on. Clogged filters make it harder to keep your home at a comfortable temperature, and can serious increase your utility bills. Simple monthly cleaning is all it takes to keep these filters breathing free and clear.
Disposable filters can be vacuumed once before replacement. Foam filters can also be vacuumed, but they don’t need to be replaced unless they are damaged. Use a soft brush on a vacuum cleaner. If the filter is metal or electrostatic, remove and wash it with a firm water spray.
Give Your Furnace a Physical
Once a year, it’s a good idea to have your heating system inspected by a professional. To avoid the last-minute rush, consider scheduling this task in early fall, before the heating season begins.
Here are signs that you should have an inspection performed sooner:
Noisy Belts: Unusual screeches or whines may be a signal that belts connected to the blower motor are worn or damaged.
Poor Performance: A heating system that doesn’t seem to work as well as it once did could be a sign of various problems. Your heating ducts might be blocked, the burners might be misadjusted, or the blower motor could be on its last legs. One check you should be sure to conduct: Make sure your furnace filter is clean.
Erratic Behavior: This could be caused by a faulty thermostat or a misadjusted furnace.

Gather ‘Round the Hearth
Even if you use your fireplace only occasionally, you should check it annually for damage and hazards.
Inspect Your Flue for Creosote: Creosote is a flammable by-product of burning wood. If it accumulates in a flue or chimney, the result can be a devastating fire. Have your chimney inspected annually for creosote buildup. If you use a fireplace or wood stove frequently, have the flue inspected after each cord of wood burned.
For most people, the best option is to have your entire chimney system inspected by a chimney sweep. Once you know what to look for, you can perform the inspection by shining a bright flashlight up the flue, looking for any deposits approaching 1/8 inch thick. These deposits should be cleaned by an experienced chimney sweep.
Look for Flue Blockages: Birds love to nest at the top of an unprotected flue. A chimney cap can prevent this from happening. If you don’t have a cap, look up the flu to ensure that there are no obstructions.
Exercise the Damper: The damper is the metal plate that opens and closes the flu just above the firebox. Move it to the open and closed positions to ensure that it is working properly.
Check Your Chimney for Damage: Make certain that the flue cap (the screen or baffle covering the top of the chimney) is in place. Inspect brick chimneys for loose or broken joints. If access is a problem, use binoculars.
Related: Festive Fall Mantel Ideas
Keep the Humidifier Humming
You may know that bone dry winter air is bad for your health, but did you also know it can make fine wood more prone to cracking? You and your home will feel more comfortable if you keep your central humidifier in tip-top shape during the months it is running.
First, inspect the plates or pads, and if necessary, clean them in a strong laundry detergent solution. Rinse and scrape off mineral deposits with a wire brush or steel wool.
Head-off Gas Problems
Keeping a gas heater in good shape is both a safety and a cost issue. An improperly maintained heater can spew poisons into the air of your home, or it may simply be costing you more to operate. Have a professional check these devices annually. There are also some maintenance items you should address.
First, shut off the heater. Then check the air-shutter openings and exhaust vents for dirt and dust. If they are dirty, vacuum the air passages to the burner and clean the burner of lint and dirt. Follow the manufacturer’s advice for any other needed maintenance.
Keep Wood Fires Burning Brightly
Woodburning stoves are a great way to add atmosphere and warmth to your home. But regular inspections are needed to ensure that these devices don’t become a safety hazard. Here’s how to check them.
Inspect Stovepipes: Cracks in stovepipes attached to wood stoves can release toxic fumes into your home. Throughout the heating season, you should check for corrosion, holes, or loose joints. Clean the stovepipe, and then look for signs of deterioration or looseness. Replace stovepipe if necessary.
Look for Corrosion and Cracks: Check for signs of rust or cracking in the stove’s body or legs.
Check Safety Features: Make sure that any required wall protection is installed according to the manufacturer’s specifications and that the unit sits on an approved floor material. If you have young children, be sure to fence off the stove when it is in operation.

Walk the Walks
Damaged walkways, drives, and steps are a hazard year-round, but their dangers are compounded when the weather turns icy. Fixing problems in the fall is also critical to preventing little problems from becoming expensive headaches.
Look for cracks more than 1/8-inch wide, uneven sections, and loose railings on steps. Check for disintegration of asphalt or washed-out materials on loose-fill paths. Most small jobs are well within the ability of a do-it-yourselfer, but save major repairs for experienced hands.
Review Safety Features
At least once a year, do a top-to-bottom review of your home’s safety features. This is also a good time to get the family together for a review of your fire evacuation plan. Here’s how to do this:
Smoke and CO Detectors: Replace the batteries in each smoke and carbon monoxide (CO) detector, then vacuum them with a soft brush attachment. Test the detectors by pressing the test button or holding a smoke source (like a blown-out candle) near the unit. If you haven’t already, install a smoke detector on every floor of your home, including the basement.
Fire Extinguishers: Every home should have at least one fire extinguisher rated for all fire types (look for an A-B-C rating on the label). At a minimum, keep one near the kitchen; having one per floor isn’t a bad idea. Annually, check the indicator on the pressure gauge to make sure the extinguisher is charged. Make certain that the lock pin is intact and firmly in place, and check that the discharge nozzle is not clogged. Clean the extinguisher and check it for dents, scratches, and corrosion. Replace if the damage seems severe. Note: Fire extinguishers that are more than six years old should be replaced. Mark the date of purchase on the new unit with a permanent marker.
Fire Escape Plans: Every bedroom, including basement bedrooms, should have two exit paths. Make sure windows aren’t blocked by furniture or other items. Ideally, each upper-floor bedroom should have a rope ladder near the window for emergency exits. Review what to do in case of fire, and arrange a safe meeting place for everyone away from the house.
General Cleanup: Rid your home of accumulations of old newspapers and leftover hazardous household chemicals. (Check with your state or local Environmental Protection Agency about the proper way to discard dangerous chemicals.) Store flammable materials and poisons in approved, clearly labeled containers. Keep a clear space around heaters, furnaces, and other heat-producing appliances.
6 Routine Cleaning Tasks That Could Prevent a Major Home Disaster
Check off these tasks regularly to keep your home running smoothly.
Deep cleaning some of the hidden, hardworking parts of your house might be a dirty job, but you’ve got to do it. Tackling these cleaning tasks regularly will help keep your home humming. When neglected for too long, grimy buildup in the wrong places can lead to appliance breakdowns or even home disasters like fires or floods. Here are six of the most important areas to clean regularly to ward off emergencies.

1. Refrigerator Coils
Dusty condenser coils make your fridge work harder, making it less energy-efficient and shortening its life span. (There goes your ice cream budget.) Note that some refrigerators require special DIY cleaning techniques; others should be cleaned by a professional. Refer to the owner’s manual before you begin.
When to Clean
Twice a year; more often if you have pets.
What to Do
Find the coils. They’re usually covered by a panel at the bottom front or on the back of a freestanding fridge and at the top of a built-in model. Unplug the fridge or turn off the power. If it’s not built-in, pull it away from the back wall. (Transferring food to a cooler lightens the load and gives you the chance to clean and organize inside.)
Take off the protective panel, put on a dust mask, and gently scrape across and between coils with a long-handled refrigerator brush ($10, The Home Depot). Follow up using the crevice tool attachment on your vacuum. And because you’re already up to your elbows in dust bunnies, clean the floor behind the fridge.
2. Dishwasher Filter
If your dishwasher has a manual-clean filter and you don’t take care of it, at some point you’ll notice an odor or food specks on your clean dishes.
When to Clean
Once a month.
What to Do
Look under the bottom rack for the filter. (Some have two removable parts: a cylinder and a flat mesh screen. Check your owner’s manual for specifics.) Twist to remove it, then scrub it under hot water using an old toothbrush. For greasy grime, handwash with dish soap.

3. Dryer Duct
Thumbs up if you clean the lint trap before drying every load of laundry. However, you should also deal with lint buildup in the dryer duct; it’s an energy suck and a fire hazard. You can also cut down on future fuzz by installing a rigid metal duct, which won’t trap lint the way flexible ducts can, and routing the duct directly from the dryer to the outside.
When to Clean
At least once a year.
What to Do
Pull the dryer away from the wall and unplug it. (If it’s a gas model, shut off the gas.) Disconnect the duct from the dryer and the wall, then loosen the lint inside with a long-handled brush or drill-powered cleaning kit designed for dryer ducts ($20, The Home Depot). Using a vacuum with a crevice tool attachment, suck up the lint on the floor and from the holes in the dryer and the wall. Brush and vacuum the vent outdoors, too.
4. Washer Filter
Does your washing machine have a lint filter or a drain pump filter? You’ll find the answer in the owner’s manual. (If the filter is self-cleaning, you’re off the hook for this task.)
When to Clean
Once a month.
What to Do
On a top-loading machine, the lint filter will likely be inside the drum or on the back. Most lint filters can be removed and rinsed under hot water.
A front-loader’s drain pump filter and hose are typically on the front. (Look for a little door.) Put a towel under a shallow pan on the floor, then remove the hose plug and let the water flow into the pan. If you haven’t done this for a while (or ever), expect as much as a quart of smelly water along with some crud. Then slowly unscrew the drain pump filter (water might flow or dribble out) and pull it out. You’ll probably find some slimy stuff; you might find loose items from pockets. Dump out the filter and wash it with water and a toothbrush.
5. Shower Drain
You probably don’t think about cleaning your shower drain until you realize you’re standing in water after every shower. If your only problem is standing water, a hair clog is the most likely cause. If you notice an odor that won’t go away or you’re having the same problems with other drains, you could be facing a bigger issue and it’s probably best to contact a Handyman.
When to Clean
Before the water is ankle deep.
What to Do
You’ll need a screwdriver, flashlight, wire hanger, and disposable plastic bag; you’ll want rubber gloves. Turn on the bathroom ventilation fan; it could get stinky. Remove the drain cover. Pull out the hair and gunk you can reach with your gloved fingers. Bend the wire hanger into a pole with a hook on the end, then fish around to see if you can snag anything else. Before putting the drain cover back on, you might want to install a special strainer that catches hair and gunk (ShowerShroom Hair CatcherDrain Protector, $13, Bed Bath & Beyond).

6. Gutters
Clearing out gutters is a spring and fall job, but if you can’t remember the last time you did it and you don’t mind being on a ladder this time of year, do it now. Clogs can cause ice dams that damage your gutters and roof. Worse, when ice melts and doesn’t drain, it finds a way indoors. (Hello, wet ceilings.)
When to Clean
At least twice a year.
What to Do
Put on work gloves and set up a ladder. Scoop out the leaves, twigs, and other junk with your hands and a trowel. Drop them in a bucket attached to the ladder or onto a drop cloth on the ground below.
Check for downspout clogs. Starting at the end farthest from the downspout, flush the gutter using a hose with a sprayer. If the water doesn’t rush out below, spray up the downspout or remove the downspout and flush it out.
